Appliance Types
- Air Conditioner
- Automobile
- Chainsaw
- Circular Saw
- Dishwasher
- Drills
- Dryer
- Drywall Screw Gun
- Furnace
- Gas Fireplace
- Gas Grill
- Gas Patio Heater
- Grinder
- Heat Pump
- Impact Driver
- Impact Wrench
- Microwave
- Nailer
- Orbital Sander
- Pool Heaters
- Powerwall
- Range
- Refrigerator
- Television
- Washer
- Water Heater
Appliance Brands
- A.O. Smith
- AccuCold
- Admiral Craft
- AGA
- Airrex
- Amana
- Ambiance
- American Range
- American Standard
- American Water Heaters
- Aquacal
- Armstrong
- Asko
- Avanti
- Avenlur
- Azure
- Beko
- Bellfires
- Bertazzoni
- Blackstone
- Blaze
- Blomberg
- BlueStar
- Bosch
- Bradford White
- Bromic
- Bryant
- Cafe
- Calcana
- Capital
- Carrier
- Char-Broil
- Char-Griller
- Chrysler
- Coates
- Coleman
- Comfortmaker
- Commercial Chef
- Continental
- Cosmo
- Cove
- Crown Verity
- Dacor
- Daikin
- Danby
- Danfoss
- DaVinci
- DCS
- Deco
- DeWALT
- Ducane
- Dyna-Glo
- Dyson
- EcoSmart
- Electrolux
- Element4
- Empava
- Equator
- Eurodib
- European Home
- Everdure
- Farberware
- Fhiaba
- FibroPool
- Fire Sense
- Fisher
- FiveStar
- Flare
- Flash Furniture
- Focus
- Ford
- Forno
- Forte
- Frigidaire
- Fulgor Milano
- Gaggenau
- GE
- General Motors
- GlowBrand
- Goodman
- Grundig
- GSW
- Haier
- Hayward
- Heatstar
- Heil
- Hestan
- Hisense
- Hitachi
- Hotpoint
- iio
- Ilve
- Impecca
- Ingignia
- Insignia
- JennAir
- John Wood
- Keeprite
- Kenmore
- Kenyon
- KitchenAid
- Kucht
- La Cornue
- Lennox
- LG
- Liebherr
- Lifetime
- Lion
- Luxaire
- Lynx
- Magic Chef
- Marvel
- Maytag
- McQuay
- MicroFridge
- Midea
- Miele
- Migali
- Monogram
- Montigo
- Mr Heater
- Napoleon
- Navien
- Nexgrill
- Noritz
- Panasonic
- Patio Comforts
- Payne
- Pentair
- Perlick
- PITT
- Premier
- Raypak
- Real Fyre
- Regency
- Reliance
- Rheem
- Rinnai
- Roma
- Ruud
- Saber
- Samsung
- Schwank
- Sharp
- Smeg
- Solas
- Sony
- Spartherm
- Speed Queen
- StaRite
- State Water Heaters
- Stiebel Eltron
- SubZero
- Summerset
- Summit
- SunGlo
- SunPak
- Sunpentown
- SunStar
- Superiore
- Takagi
- TCL
- TEC
- Tempstar
- Tesla
- Thermador
- Thor Kitchen
- Toshiba
- Town and Country
- Toyota
- Traeger
- Trane
- Twin Eagles
- U-Line
- Unique
- Vaillant Group
- Valor
- Verona
- Victory
- Viessmann
- Viking
- Vizio
- Weber
- Westinghouse
- Whirlpool
- Whynter
- York
- ZLINE
Article Categories
- Air Conditioners
- Appliance Care
- Appliance News
- Dishwasher News
- Drying Machines
- Furnaces
- Gas Fireplaces
- Microwaves
- Pool Heaters
- Refrigerators
- Stoves - Ranges
- Tips and Tricks
- Washing Machines
- Water Heaters
More Articles
How do I clean the air vents in my dryer?
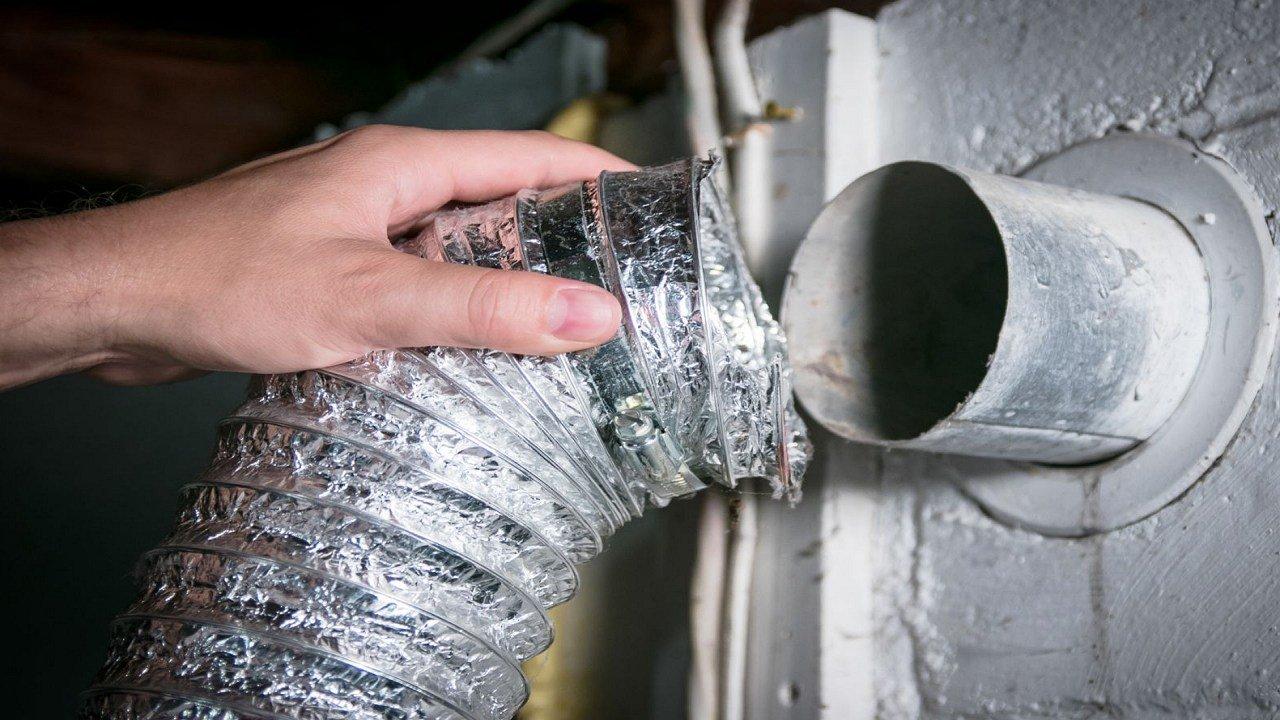
Cleaning the air vents in your dryer is important to maintain proper airflow and prevent potential fire hazards. Here's how you can clean the air vents in your dryer:
Tools and Materials Needed:
Screwdriver.
Vacuum cleaner with hose attachment.
Vent brush or lint brush.
Duct tape.
Towel.
Steps:
Unplug the Dryer: Before you begin cleaning, make sure the dryer is unplugged to ensure your safety.
Access the Vent Opening:
Pull the dryer away from the wall to access the rear panel.Depending on your dryer model, you may need to remove the rear panel using a screwdriver. Refer to your dryer's user manual for guidance.
Disconnect the Vent Hose:
Locate the vent hose that connects the dryer to the wall duct.Loosen the clamp that secures the vent hose to the dryer and wall duct.Gently pull the vent hose off both the dryer and the wall duct.
Clean the Vent Hose:
Shake and tap the vent hose to dislodge any built-up lint or debris.Use a vacuum cleaner with a hose attachment to remove lint and debris from the inside of the vent hose.
Clean the Dryer Vent Opening:
Use the vacuum cleaner to remove lint and debris from the dryer vent opening on the back of the dryer.
Clean the Wall Duct:
Use a vent brush or lint brush to clean the wall duct where the vent hose was connected. Insert the brush into the duct and rotate it to remove lint and debris.Alternatively, you can attach the brush to a cordless drill for more effective cleaning.
Check the Exterior Vent:
Go outside your home and locate the exterior vent where the dryer exhausts air.Remove the vent cover and clean any lint or debris that may have accumulated.
Reconnect the Vent Hose:
Slide the vent hose back onto the dryer and the wall duct.Secure the hose in place by tightening the clamp using a screwdriver.
Secure the Rear Panel: If you removed the rear panel, reattach it to the dryer using screws.
Move the Dryer Back: Carefully push the dryer back into its original position.
Plug in the Dryer: Plug the dryer back into the electrical outlet.
Test the Dryer: Turn on the dryer and run a test cycle to ensure proper airflow.
Regular Maintenance: To prevent future buildup of lint and debris, clean the lint filter before each load and periodically clean the vent system.
Regularly cleaning the air vents in your dryer can help improve its efficiency and safety. If you're unsure about any step, consult your dryer's user manual or consider hiring a professional appliance technician for assistance.
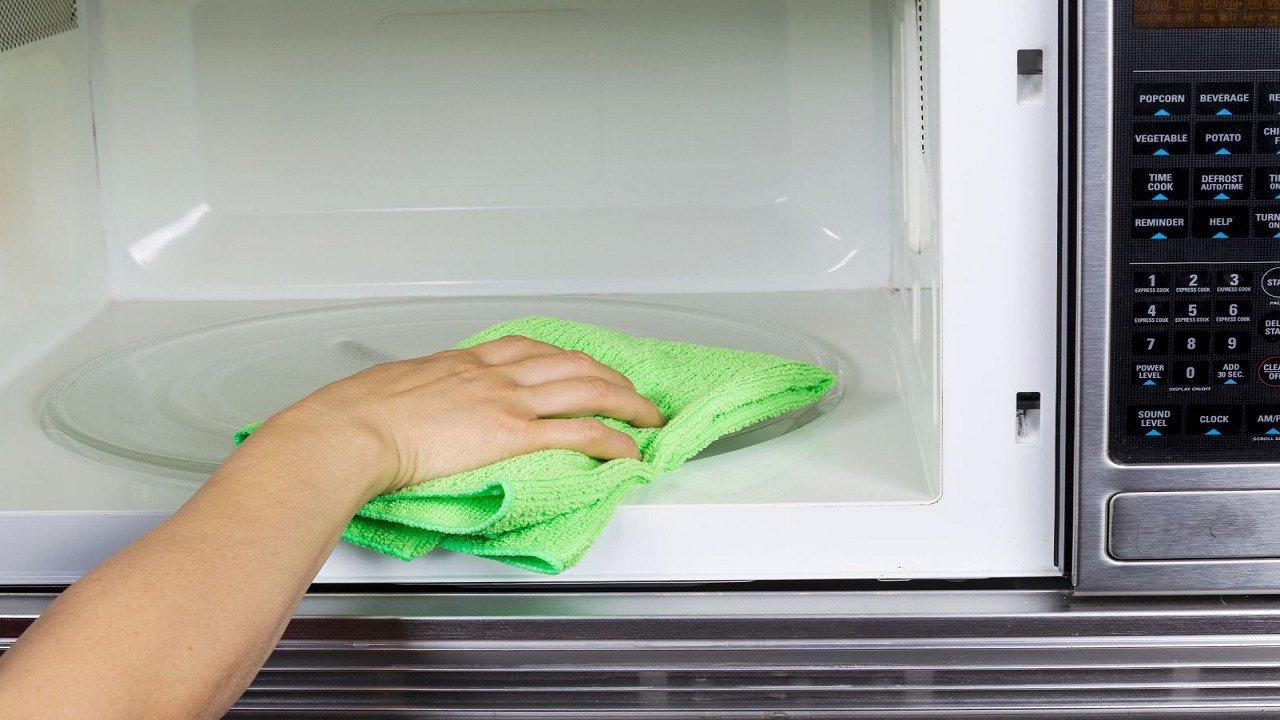
How do I remove stains from the interior of my microwave?
Survey: Only 55% Of Americans Plan To Perform Preventative Appliance Maintenance

Novy adds new 120cm downdraft extractor induction hob

Whirlpool to Discuss Home Building Trends at the NAHB Builder Show
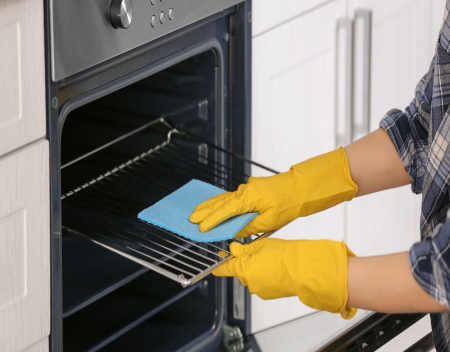
How long does it take for an oven to self-clean
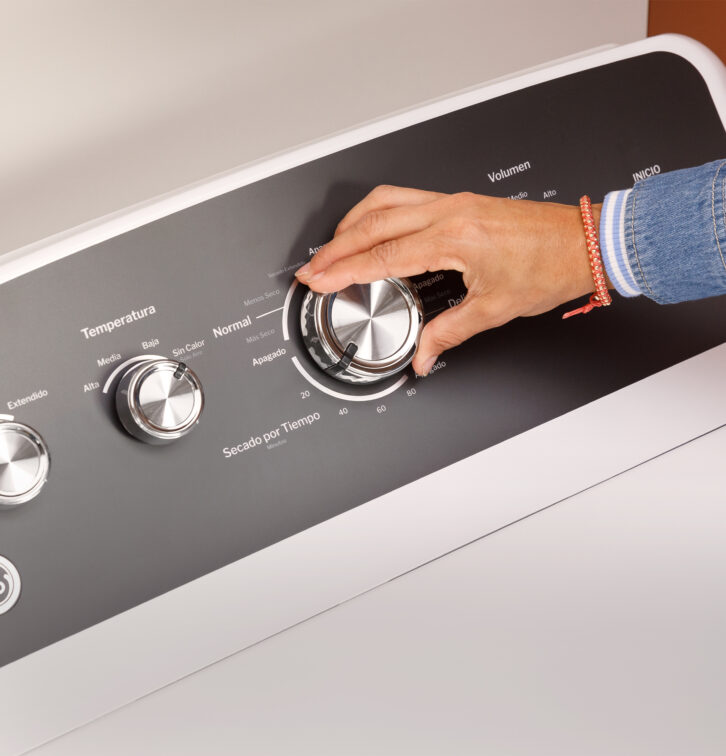
GE Appliances Introduces First-Ever Spanish Language Washer And Dryer

TCL Europe introduces multidisciplinary fully integrated ecosystem for 2022

Samsung fridge stops getting cold over night

What is this corroded part called? Should I replace it, or can self-fluxing tape fix the leak?