Appliance Types
- Air Conditioner
- Automobile
- Chainsaw
- Circular Saw
- Dishwasher
- Drills
- Dryer
- Drywall Screw Gun
- Furnace
- Gas Fireplace
- Gas Grill
- Gas Patio Heater
- Grinder
- Heat Pump
- Impact Driver
- Impact Wrench
- Microwave
- Nailer
- Orbital Sander
- Pool Heaters
- Powerwall
- Range
- Refrigerator
- Television
- Washer
- Water Heater
Appliance Brands
- A.O. Smith
- AccuCold
- Admiral Craft
- AGA
- Airrex
- Amana
- Ambiance
- American Range
- American Standard
- American Water Heaters
- Aquacal
- Armstrong
- Asko
- Avanti
- Avenlur
- Azure
- Beko
- Bellfires
- Bertazzoni
- Blackstone
- Blaze
- Blomberg
- BlueStar
- Bosch
- Bradford White
- Bromic
- Bryant
- Cafe
- Calcana
- Capital
- Carrier
- Char-Broil
- Char-Griller
- Chrysler
- Coates
- Coleman
- Comfortmaker
- Commercial Chef
- Continental
- Cosmo
- Cove
- Crown Verity
- Dacor
- Daikin
- Danby
- Danfoss
- DaVinci
- DCS
- Deco
- DeWALT
- Ducane
- Dyna-Glo
- Dyson
- EcoSmart
- Electrolux
- Element4
- Empava
- Equator
- Eurodib
- European Home
- Everdure
- Farberware
- Fhiaba
- FibroPool
- Fire Sense
- Fisher
- FiveStar
- Flare
- Flash Furniture
- Focus
- Ford
- Forno
- Forte
- Frigidaire
- Fulgor Milano
- Gaggenau
- GE
- General Motors
- GlowBrand
- Goodman
- Grundig
- GSW
- Haier
- Hayward
- Heatstar
- Heil
- Hestan
- Hisense
- Hitachi
- Hotpoint
- iio
- Ilve
- Impecca
- Ingignia
- Insignia
- JennAir
- John Wood
- Keeprite
- Kenmore
- Kenyon
- KitchenAid
- Kucht
- La Cornue
- Lennox
- LG
- Liebherr
- Lifetime
- Lion
- Luxaire
- Lynx
- Magic Chef
- Marvel
- Maytag
- McQuay
- MicroFridge
- Midea
- Miele
- Migali
- Monogram
- Montigo
- Mr Heater
- Napoleon
- Navien
- Nexgrill
- Noritz
- Panasonic
- Patio Comforts
- Payne
- Pentair
- Perlick
- PITT
- Premier
- Raypak
- Real Fyre
- Regency
- Reliance
- Rheem
- Rinnai
- Roma
- Ruud
- Saber
- Samsung
- Schwank
- Sharp
- Smeg
- Solas
- Sony
- Spartherm
- Speed Queen
- StaRite
- State Water Heaters
- Stiebel Eltron
- SubZero
- Summerset
- Summit
- SunGlo
- SunPak
- Sunpentown
- SunStar
- Superiore
- Takagi
- TCL
- TEC
- Tempstar
- Tesla
- Thermador
- Thor Kitchen
- Toshiba
- Town and Country
- Toyota
- Traeger
- Trane
- Twin Eagles
- U-Line
- Unique
- Vaillant Group
- Valor
- Verona
- Victory
- Viessmann
- Viking
- Vizio
- Weber
- Westinghouse
- Whirlpool
- Whynter
- York
- ZLINE
Article Categories
- Air Conditioners
- Appliance Care
- Appliance News
- Dishwasher News
- Drying Machines
- Furnaces
- Gas Fireplaces
- Microwaves
- Pool Heaters
- Refrigerators
- Stoves - Ranges
- Tips and Tricks
- Washing Machines
- Water Heaters
More Articles
How do I remove stains from the interior of my microwave?
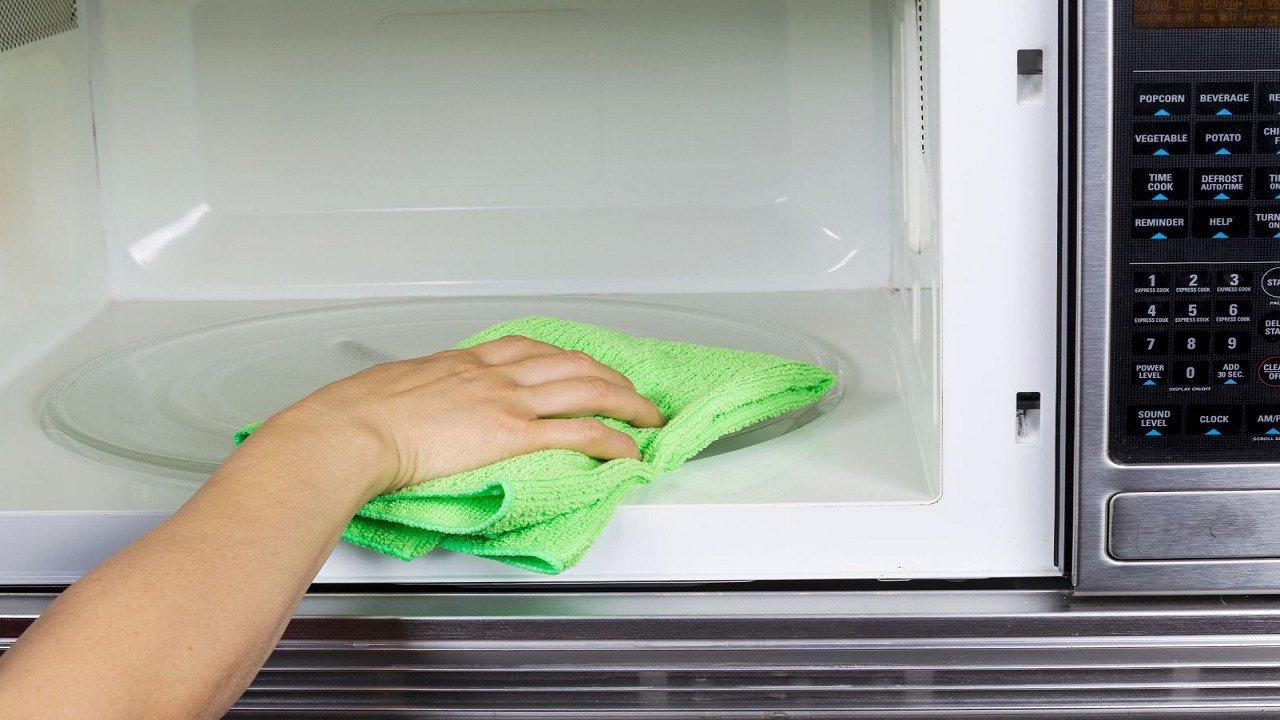
To remove stains from the interior of your microwave, follow these steps:
Unplug the Microwave: Safety is important. Before you start cleaning, unplug the microwave to ensure there's no risk of electrical shock.
Remove Turntable and Accessories: Take out the turntable, roller ring, and any other removable accessories from inside the microwave. These can be washed separately.
Create a Cleaning Solution:
Mix equal parts of water and white vinegar in a microwave-safe bowl or cup. You can also add a few drops of lemon juice for a fresh scent.Alternatively, you can use a mild dish soap mixed with water.
Microwave the Cleaning Solution:
Place the bowl with the cleaning solution in the microwave.Heat the mixture on high power for about 5 minutes. This will create steam that helps loosen the stains and grease.
Let it Sit: Keep the microwave door closed for a few minutes after the heating cycle ends. This allows the steam to further soften the stains.
Wipe Down the Interior:
Open the microwave door and carefully remove the hot bowl using oven mitts or a towel.Use a damp microfiber cloth or sponge to wipe down the interior. The steam should have loosened the stains, making them easier to remove.
Scrub Stubborn Stains:
For stubborn stains, dampen a cloth or sponge with the cleaning solution and scrub gently.For tough grease or residue, you can make a paste of baking soda and water. Apply the paste to the stains, let it sit for a few minutes, then scrub and wipe clean.
Clean Accessories:
Wash the turntable, roller ring, and other removable parts in warm soapy water. Rinse thoroughly and let them dry before placing them back in the microwave.
Deodorize:
If your microwave has odors, you can eliminate them by placing a bowl of baking soda or activated charcoal inside when not in use.
Final Wipe Down:
Use a clean, damp cloth to wipe down the interior one last time to ensure all cleaning solution and residue are removed.
Plug In the Microwave: Once the interior is clean and dry, plug the microwave back in.
Remember to always follow safety precautions and guidelines provided in your microwave's manual. Avoid using abrasive scrubbers or harsh chemicals that could damage the microwave's interior. Regular cleaning can help prevent stains and make the process easier in the future.
Maytag Refrigerator not defrosting
The new Samsung Bespoke 4-Door Flex Refrigerator with Family Hub

Everytime we run our stove for more than an hour we get these notifications from our air quality sys

Why Your Refrigerator Wont Stop Running

Energy efficient features ignored by 9 out of 10 homeowners Beko finds

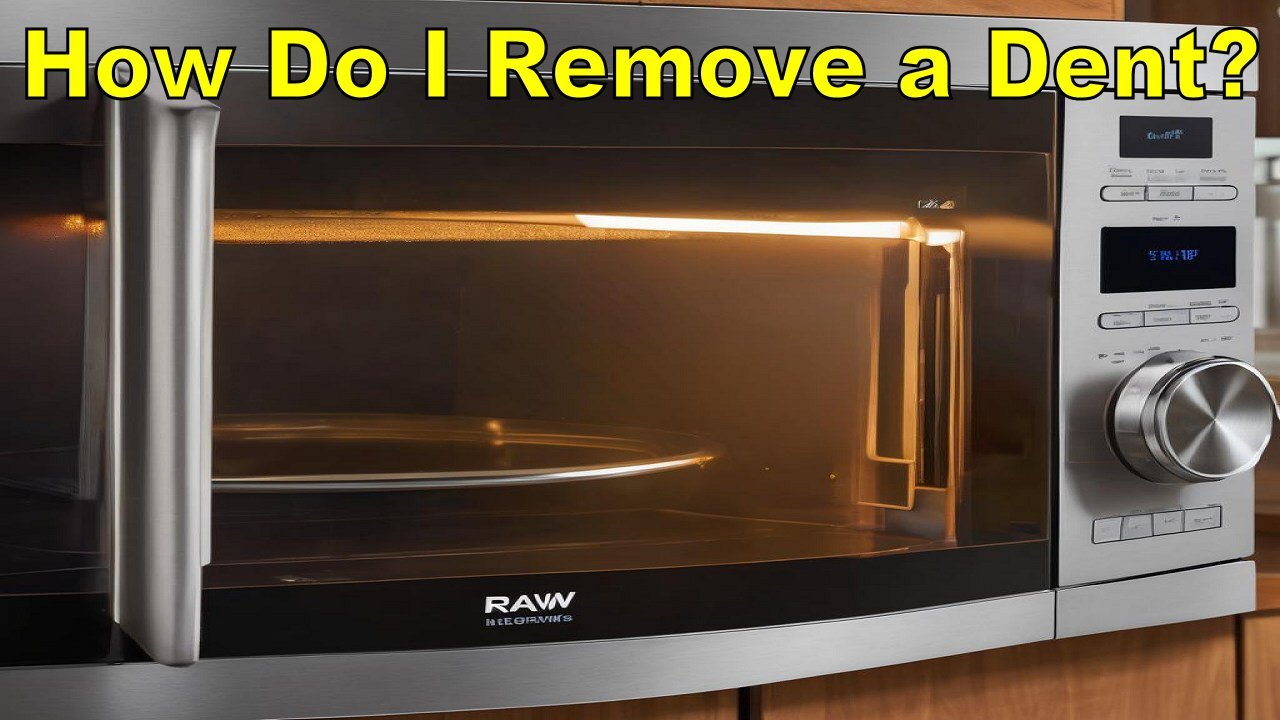
How Do I Remove a Dent From My Stainless Steel Microwave?
Samsung Expands Bespoke Home Range With New Washer Dryer Combo & More

I need to destroy my father's grinder
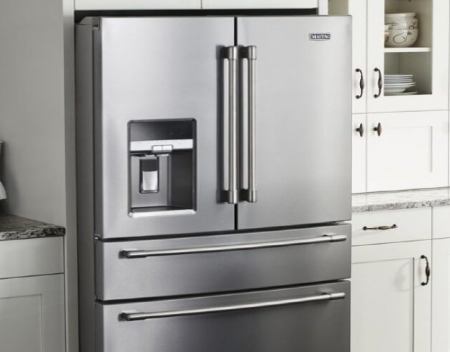
What makes Sub Zero fridge work better?

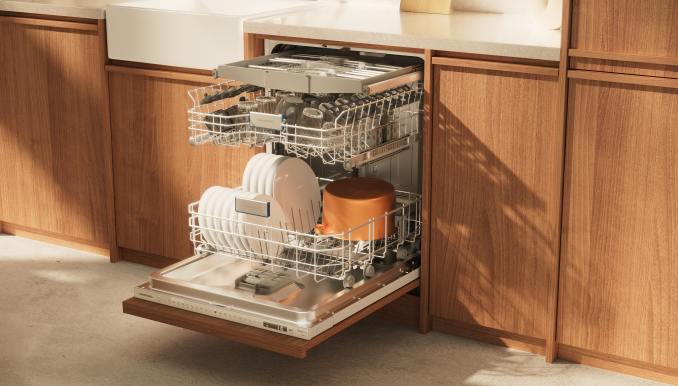
Grundig dishwasher in A -10 percent class