Appliance Types
- Air Conditioner
- Automobile
- Chainsaw
- Circular Saw
- Dishwasher
- Drills
- Dryer
- Drywall Screw Gun
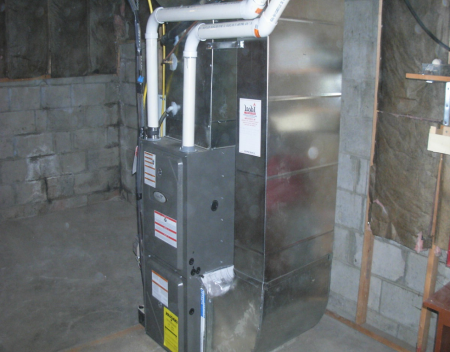
- Furnace
- Gas Fireplace
- Gas Grill
- Gas Patio Heater
- Grinder
- Heat Pump
- Impact Driver
- Impact Wrench
- Microwave
- Nailer
- Orbital Sander
- Pool Heaters
- Powerwall
- Range
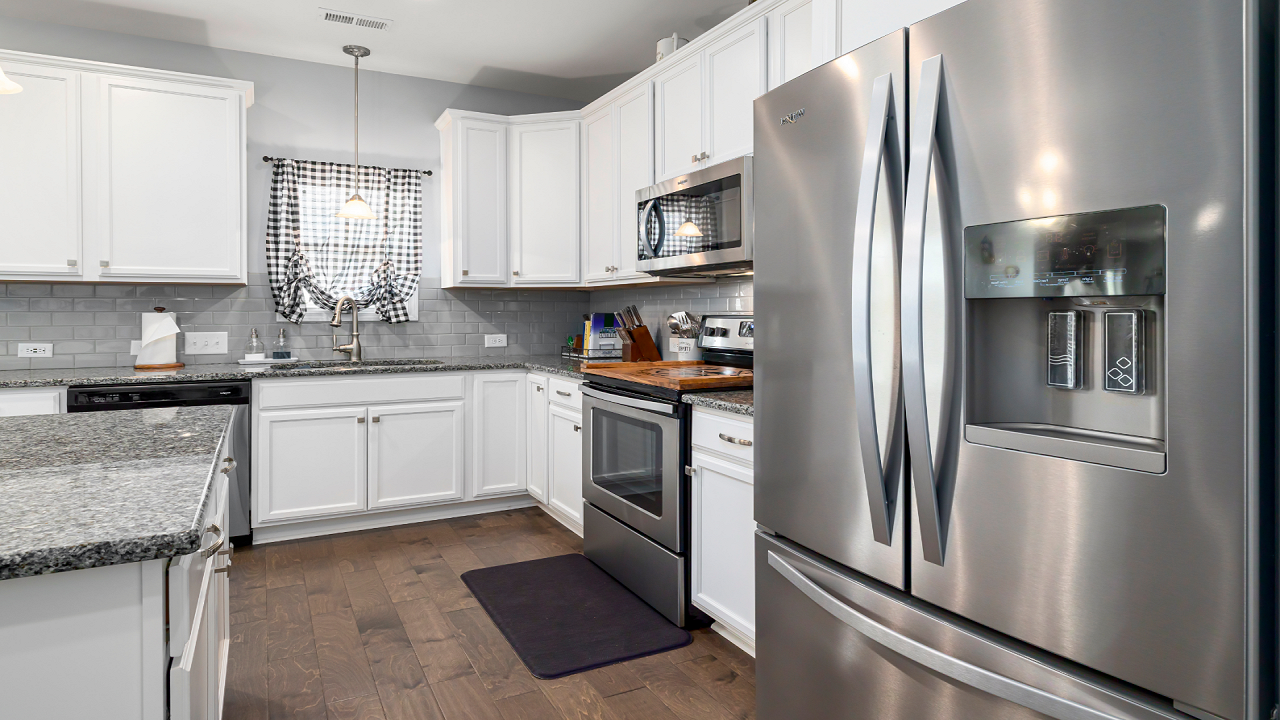
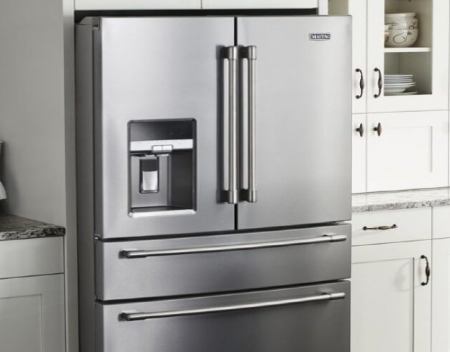
- Refrigerator
- Television
- Washer
- Water Heater
Appliance Brands
- A.O. Smith
- AccuCold
- Admiral Craft
- AGA
- Airrex
- Amana
- Ambiance
- American Range
- American Standard
- American Water Heaters
- Aquacal
- Armstrong
- Asko
- Avanti
- Avenlur
- Azure
- Beko
- Bellfires
- Bertazzoni
- Blackstone
- Blaze
- Blomberg
- BlueStar
- Bosch
- Bradford White
- Bromic
- Bryant
- Cafe
- Calcana
- Capital
- Carrier
- Char-Broil
- Char-Griller
- Chrysler
- Coates
- Coleman
- Comfortmaker
- Commercial Chef
- Continental
- Cosmo
- Cove
- Crown Verity
- Dacor
- Daikin
- Danby
- Danfoss
- DaVinci
- DCS
- Deco
- DeWALT
- Ducane
- Dyna-Glo
- Dyson
- EcoSmart
- Electrolux
- Element4
- Empava
- Equator
- Eurodib
- European Home
- Everdure
- Farberware
- Fhiaba
- FibroPool
- Fire Sense
- Fisher
- FiveStar
- Flare
- Flash Furniture
- Focus
- Ford
- Forno
- Forte
- Frigidaire
- Fulgor Milano
- Gaggenau
- GE
- General Motors
- GlowBrand
- Goodman
- Grundig
- GSW
- Haier
- Hayward
- Heatstar
- Heil
- Hestan
- Hisense
- Hitachi
- Hotpoint
- iio
- Ilve
- Impecca
- Ingignia
- Insignia
- JennAir
- John Wood
- Keeprite
- Kenmore
- Kenyon
- KitchenAid
- Kucht
- La Cornue
- Lennox
- LG
- Liebherr
- Lifetime
- Lion
- Luxaire
- Lynx
- Magic Chef
- Marvel
- Maytag
- McQuay
- MicroFridge
- Midea
- Miele
- Migali
- Monogram
- Montigo
- Mr Heater
- Napoleon
- Navien
- Nexgrill
- Noritz
- Panasonic
- Patio Comforts
- Payne
- Pentair
- Perlick
- PITT
- Premier
- Raypak
- Real Fyre
- Regency
- Reliance
- Rheem
- Rinnai
- Roma
- Ruud
- Saber
- Samsung
- Schwank
- Sharp
- Smeg
- Solas
- Sony
- Spartherm
- Speed Queen
- StaRite
- State Water Heaters
- Stiebel Eltron
- SubZero
- Summerset
- Summit
- SunGlo
- SunPak
- Sunpentown
- SunStar
- Superiore
- Takagi
- TCL
- TEC
- Tempstar
- Tesla
- Thermador
- Thor Kitchen
- Toshiba
- Town and Country
- Toyota
- Traeger
- Trane
- Twin Eagles
- U-Line
- Unique
- Vaillant Group
- Valor
- Verona
- Victory
- Viessmann
- Viking
- Vizio
- Weber
- Westinghouse
- Whirlpool
- Whynter
- York
- ZLINE
Article Categories
- Air Conditioners
- Appliance Care
- Appliance News
- Dishwasher News
- Drying Machines
- Furnaces
- Gas Fireplaces
- Microwaves
- Pool Heaters
- Refrigerators
- Stoves - Ranges
- Tips and Tricks
- Washing Machines
- Water Heaters
More Articles
Step by Step Guide to Installing a Kitchen Faucet
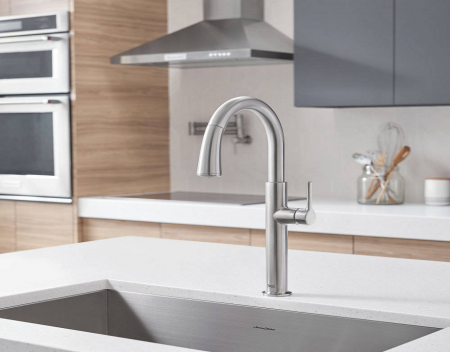
Installing a new kitchen faucet is an easy and affordable way to reinvigorate your space. With a few common tools, you can easily install or replace your existing faucet without worry or hassle.
Before getting started, you’ll need the right tools to successfully install your brand new kitchen faucet:
- Flat-head screwdriver.
- Phillips-head screwdriver.
- Adjustable wrench.
- Pipe wrench.
- Plumbers’ putty or caulking (optional).
- Bucket (optional).
- Old rags/towels (optional).
- Flashlight (optional).
- Tape measure (optional).
STEP 1
First, you’ll need to turn off the water supply. You must then make sure that the seal is properly seated in the recess of the spout base. Follow through by inserting all hoses and shank through the mounting ring and mounting surface. You should refrain from using putty for this step.
STEP 2
Next, you will feed the hoses through the rubber washer, brass washer, and threaded locknut onto the shank from underside the sink or mounting surface. You must then tighten the locknut, and use a screwdriver to tighten the screws located on the locknut. Then, you will work your way around the locknut, tightening the screws slightly until all are snug. This will ensure even pressure, and may impact the faucet’s performance if completed incorrectly.
STEP 3
When you have successfully completed the first two steps, you will then connect the flexible supply hoses directly to the wall supplies. First, you will connect the blue nylon braided supply hose to the hot wall supply, and then the red nylon braided supply hose to the cold water supply. You must use an adjustable wrench to carefully tighten the connections, being mindful of potential overtightening.
STEP 4
Finally, you will need to push the spray hose end into the hose connector, and slide down the locking collar until it snaps into place. With the hand spray seated in the spout, install the weight, and then secure it in place with a screwdriver.
STEP 5
You may then turn the water supply back on, and begin enjoying your brand new kitchen faucet.
Source: Re-posted and Summarized from americanstandard.ca.
AEG appliances gain hygiene certification from Swissatest in 3 key product categories

The innovative Beko dishwashers

I just ordered a Samsung refrigerator because I think that almost everyone here who says don't buy e
Maytag Refrigerator not defrosting
How Do I Know If Something Is Microwave Safe?

Whirlpool Dryer drum not turning
Liebherr to showcase the future of sustainable refrigeration and freezing at IFA 2022
Find Out Why Your Freezer Is Not Freezing
Bekos Hack the Normal Sustainability hackathon winners announced

Whats the Difference Between Electric, Gas, and Oil Heating Systems?