Appliance Types
- Air Conditioner
- Automobile
- Chainsaw
- Circular Saw
- Dishwasher
- Drills
- Dryer
- Drywall Screw Gun
- Furnace
- Gas Fireplace
- Gas Grill
- Gas Patio Heater
- Grinder
- Heat Pump
- Impact Driver
- Impact Wrench
- Microwave
- Nailer
- Orbital Sander
- Pool Heaters
- Powerwall
- Range
- Refrigerator
- Television
- Washer
- Water Heater
Appliance Brands
- A.O. Smith
- AccuCold
- Admiral Craft
- AGA
- Airrex
- Amana
- Ambiance
- American Range
- American Standard
- American Water Heaters
- Aquacal
- Armstrong
- Asko
- Avanti
- Avenlur
- Azure
- Beko
- Bellfires
- Bertazzoni
- Blackstone
- Blaze
- Blomberg
- BlueStar
- Bosch
- Bradford White
- Bromic
- Bryant
- Cafe
- Calcana
- Capital
- Carrier
- Char-Broil
- Char-Griller
- Chrysler
- Coates
- Coleman
- Comfortmaker
- Commercial Chef
- Continental
- Cosmo
- Cove
- Crown Verity
- Dacor
- Daikin
- Danby
- Danfoss
- DaVinci
- DCS
- Deco
- DeWALT
- Ducane
- Dyna-Glo
- Dyson
- EcoSmart
- Electrolux
- Element4
- Empava
- Equator
- Eurodib
- European Home
- Everdure
- Farberware
- Fhiaba
- FibroPool
- Fire Sense
- Fisher
- FiveStar
- Flare
- Flash Furniture
- Focus
- Ford
- Forno
- Forte
- Frigidaire
- Fulgor Milano
- Gaggenau
- GE
- General Motors
- GlowBrand
- Goodman
- Grundig
- GSW
- Haier
- Hayward
- Heatstar
- Heil
- Hestan
- Hisense
- Hitachi
- Hotpoint
- iio
- Ilve
- Impecca
- Ingignia
- Insignia
- JennAir
- John Wood
- Keeprite
- Kenmore
- Kenyon
- KitchenAid
- Kucht
- La Cornue
- Lennox
- LG
- Liebherr
- Lifetime
- Lion
- Luxaire
- Lynx
- Magic Chef
- Marvel
- Maytag
- McQuay
- MicroFridge
- Midea
- Miele
- Migali
- Monogram
- Montigo
- Mr Heater
- Napoleon
- Navien
- Nexgrill
- Noritz
- Panasonic
- Patio Comforts
- Payne
- Pentair
- Perlick
- PITT
- Premier
- Raypak
- Real Fyre
- Regency
- Reliance
- Rheem
- Rinnai
- Roma
- Ruud
- Saber
- Samsung
- Schwank
- Sharp
- Smeg
- Solas
- Sony
- Spartherm
- Speed Queen
- StaRite
- State Water Heaters
- Stiebel Eltron
- SubZero
- Summerset
- Summit
- SunGlo
- SunPak
- Sunpentown
- SunStar
- Superiore
- Takagi
- TCL
- TEC
- Tempstar
- Tesla
- Thermador
- Thor Kitchen
- Toshiba
- Town and Country
- Toyota
- Traeger
- Trane
- Twin Eagles
- U-Line
- Unique
- Vaillant Group
- Valor
- Verona
- Victory
- Viessmann
- Viking
- Vizio
- Weber
- Westinghouse
- Whirlpool
- Whynter
- York
- ZLINE
Article Categories
- Air Conditioners
- Appliance Care
- Appliance News
- Dishwasher News
- Drying Machines
- Furnaces
- Gas Fireplaces
- Microwaves
- Pool Heaters
- Refrigerators
- Stoves - Ranges
- Tips and Tricks
- Washing Machines
- Water Heaters
More Articles
How Do I Remove a Dent From My Stainless Steel Microwave?
Removing a dent from a stainless steel microwave can be challenging, but you can attempt some methods to improve the appearance. Keep in mind that the effectiveness of these methods may vary based on the severity of the dent. Here's a general guide:
Method 1: Use a Plunger.
Plunger Size: Choose a plunger that fits the size of the dent. A small plunger with a rubber cup is often more effective.
Dampen Surface: Wet the area around the dent to create a better seal with the plunger.
Technique: Apply force by pressing the plunger against the dent, then quickly pull it back. This action helps create a vacuum, potentially pulling the dent outward.
Patience: Repeat the process several times, checking the dent's progress after each attempt. It may take a few tries to see improvement.
Method 2: Use Dry Ice.
Dry Ice Safety: Handle dry ice with care and use protective gloves. Avoid direct skin contact.
Cold Contraction: The extreme cold of the dry ice causes the metal to contract, potentially allowing the dent to pop out.
Monitoring: Keep an eye on the dent as you apply the dry ice. Results may vary, and you may need to repeat the process.
Method 3: Use a Vacuum Cleaner and Bucket.
Bucket Size: Choose a bucket that covers the dent adequately. Cutting a hole in the bottom allows you to create a seal.
Vacuum Cleaner Hose: Ensure a tight seal between the vacuum cleaner hose and the bucket. This helps create suction.
Vacuum Cleaner Power: The vacuum cleaner creates suction, potentially pulling the dent outward. Press on the dent or try to manipulate it from the inside.
Method 4: Use a Hair Dryer and Compressed Air.
Heating: The hair dryer heats the metal, making it more pliable.
Rapid Cooling: Compressed air is applied to the heated metal, causing rapid cooling. The contraction may aid in pushing the dent out.
Quick Action: Apply compressed air swiftly after heating. Results may vary based on the dent's severity.
Method 5: Seek Professional Repair.
Complex Dents: If the dent is extensive or the DIY methods are unsuccessful, consult a professional technician.
Professional Tools: Technicians use specialized tools like dent pullers, suction devices, and other equipment for precise and effective repairs.
Cost: Professional repair may involve a cost, but it ensures a higher likelihood of successful restoration.
Always exercise caution when attempting DIY repairs and prioritize safety. If uncertain, seeking professional assistance is a prudent choice.
RGV highlights latest household slicer for 2023

The AWE Innovation Award to Bertazzoni ovens
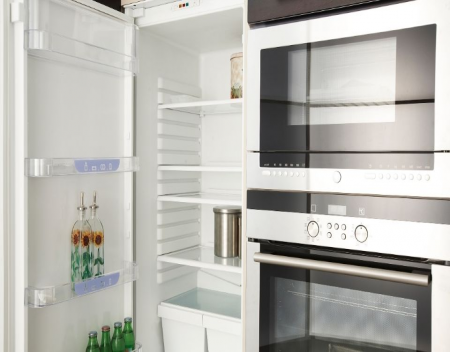
What is the Difference Between Integrated and Built-In Refrigerators?
How do I fix a leaky washing machine?
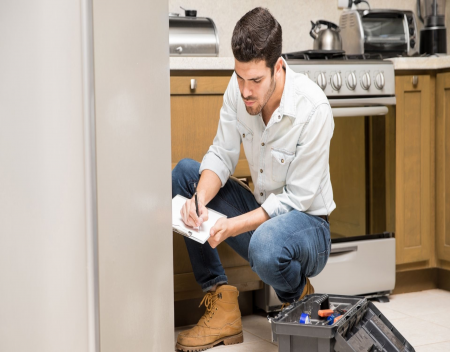
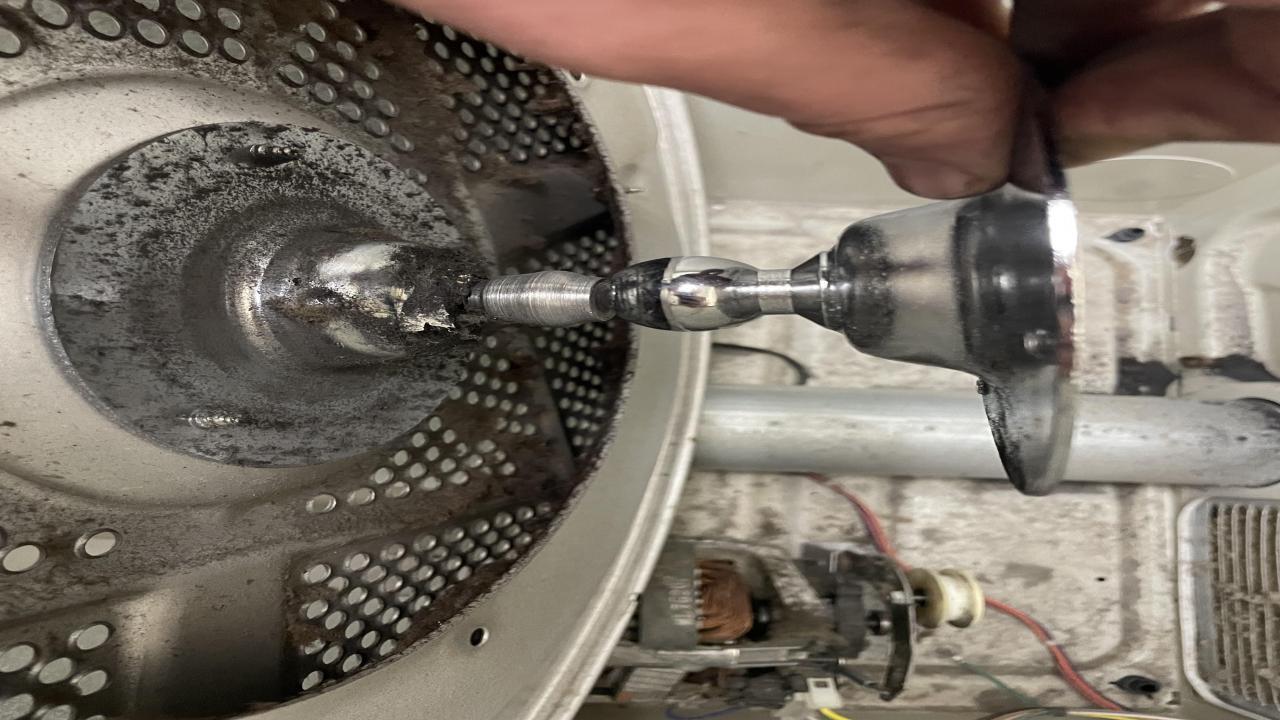
frigidaire dryer was making a squeaky sound Unit is 17 years old worth the repair
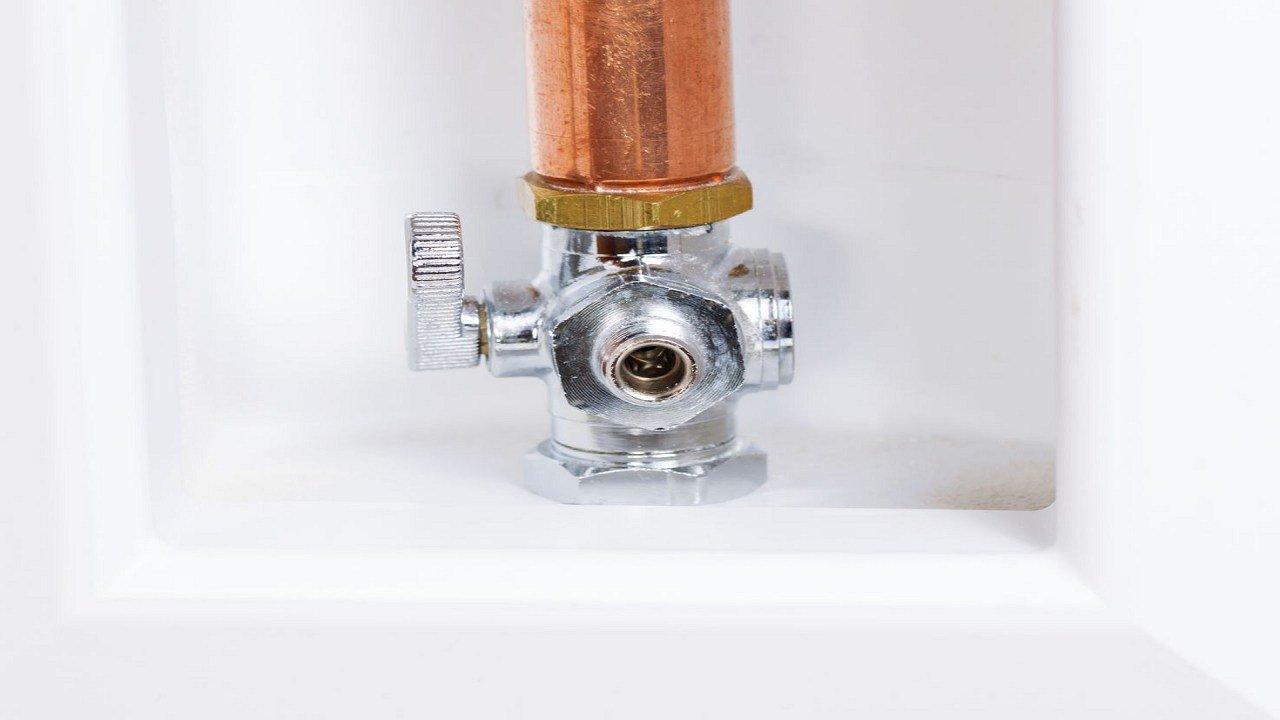
How do I replace the water inlet valve in my refrigerator?
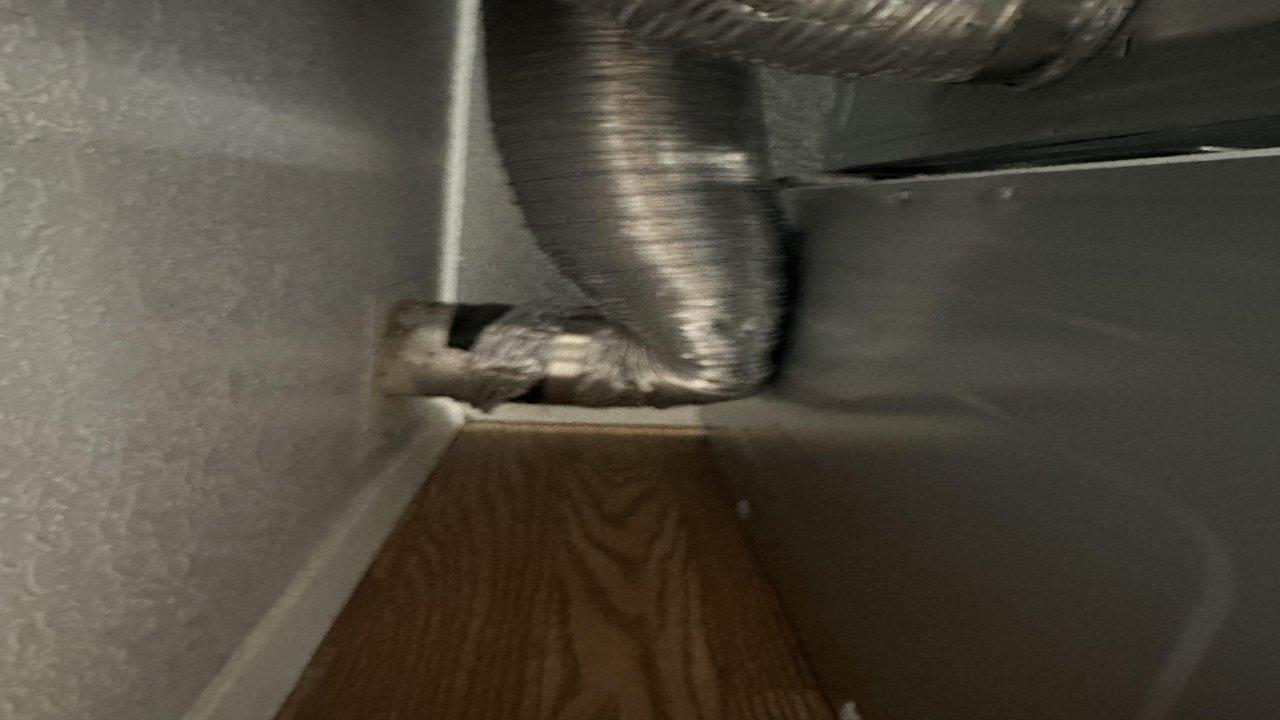
Is this really okay? (Installers said yes so maybe I’m overthinking)
Why is my dishwasher leaving spots on the dishes?
Why Your Washer Smells and How to Fix It Fast