Appliance Types
- Air Conditioner
- Automobile
- Chainsaw
- Circular Saw
- Dishwasher
- Drills
- Dryer
- Drywall Screw Gun
- Furnace
- Gas Fireplace
- Gas Grill
- Gas Patio Heater
- Grinder
- Heat Pump
- Impact Driver
- Impact Wrench
- Microwave
- Nailer
- Orbital Sander
- Pool Heaters
- Powerwall
- Range
- Refrigerator
- Television
- Washer
- Water Heater
Appliance Brands
- A.O. Smith
- AccuCold
- Admiral Craft
- AGA
- Airrex
- Amana
- Ambiance
- American Range
- American Standard
- American Water Heaters
- Aquacal
- Armstrong
- Asko
- Avanti
- Avenlur
- Azure
- Beko
- Bellfires
- Bertazzoni
- Blackstone
- Blaze
- Blomberg
- BlueStar
- Bosch
- Bradford White
- Bromic
- Bryant
- Cafe
- Calcana
- Capital
- Carrier
- Char-Broil
- Char-Griller
- Chrysler
- Coates
- Coleman
- Comfortmaker
- Commercial Chef
- Continental
- Cosmo
- Cove
- Crown Verity
- Dacor
- Daikin
- Danby
- Danfoss
- DaVinci
- DCS
- Deco
- DeWALT
- Ducane
- Dyna-Glo
- Dyson
- EcoSmart
- Electrolux
- Element4
- Empava
- Equator
- Eurodib
- European Home
- Everdure
- Farberware
- Fhiaba
- FibroPool
- Fire Sense
- Fisher
- FiveStar
- Flare
- Flash Furniture
- Focus
- Ford
- Forno
- Forte
- Frigidaire
- Fulgor Milano
- Gaggenau
- GE
- General Motors
- GlowBrand
- Goodman
- Grundig
- GSW
- Haier
- Hayward
- Heatstar
- Heil
- Hestan
- Hisense
- Hitachi
- Hotpoint
- iio
- Ilve
- Impecca
- Ingignia
- Insignia
- JennAir
- John Wood
- Keeprite
- Kenmore
- Kenyon
- KitchenAid
- Kucht
- La Cornue
- Lennox
- LG
- Liebherr
- Lifetime
- Lion
- Luxaire
- Lynx
- Magic Chef
- Marvel
- Maytag
- McQuay
- MicroFridge
- Midea
- Miele
- Migali
- Monogram
- Montigo
- Mr Heater
- Napoleon
- Navien
- Nexgrill
- Noritz
- Panasonic
- Patio Comforts
- Payne
- Pentair
- Perlick
- PITT
- Premier
- Raypak
- Real Fyre
- Regency
- Reliance
- Rheem
- Rinnai
- Roma
- Ruud
- Saber
- Samsung
- Schwank
- Sharp
- Smeg
- Solas
- Sony
- Spartherm
- Speed Queen
- StaRite
- State Water Heaters
- Stiebel Eltron
- SubZero
- Summerset
- Summit
- SunGlo
- SunPak
- Sunpentown
- SunStar
- Superiore
- Takagi
- TCL
- TEC
- Tempstar
- Tesla
- Thermador
- Thor Kitchen
- Toshiba
- Town and Country
- Toyota
- Traeger
- Trane
- Twin Eagles
- U-Line
- Unique
- Vaillant Group
- Valor
- Verona
- Victory
- Viessmann
- Viking
- Vizio
- Weber
- Westinghouse
- Whirlpool
- Whynter
- York
- ZLINE
Article Categories
- Air Conditioners
- Appliance Care
- Appliance News
- Dishwasher News
- Drying Machines
- Furnaces
- Gas Fireplaces
- Microwaves
- Pool Heaters
- Refrigerators
- Stoves - Ranges
- Tips and Tricks
- Washing Machines
- Water Heaters
More Articles
How Do I Remove a Dent From My Stainless Steel Stove?
Removing a dent from a stainless steel stove can be a delicate process to avoid causing further damage to the surface. Here's a method you can try using common household items:
Materials Needed:
Boiling Water, Sufficient water to cover the entire dent.
Compressed Air or a Vacuum Cleaner, A can of compressed air (upside down to release liquid CO2) or a vacuum cleaner with a hose attachment.
Rubber Gloves, To protect your hands from hot water.
Dry Ice (Optional), If available, for additional cold treatment.
Clean, Soft Cloth, To clean and polish the stainless steel surface afterward.
Detailed Steps:
Prepare the Area:
Ensure the stove is turned off and disconnected from the power source. Clear any items or obstacles around the dent.
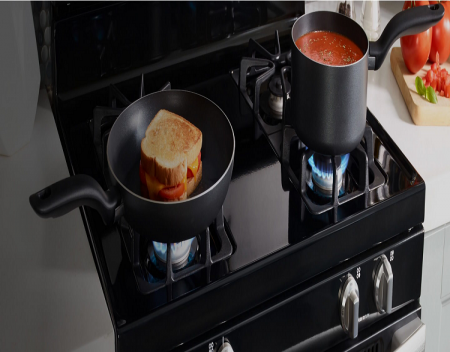
Boil Water:
Boil a pot of water on the stove or using a separate kettle. Make sure you have enough water to completely cover the dent.
Wear Rubber Gloves:
Put on rubber gloves to protect your hands from the hot water.
Pour Hot Water:
Carefully pour the boiling water onto the dent. Ensure the entire dent is covered.
Act Quickly:
Immediately after pouring hot water, act quickly with the cold treatment. If using compressed air, spray it upside down to release liquid CO2. If using a vacuum cleaner, place the hose over the dent.
Repeat if Necessary:
If the dent doesn't pop out on the first attempt, repeat the process. Alternate between hot and cold treatments until you see improvement.
Use Dry Ice (Optional):
If you have dry ice, rub it over the dent for additional cold treatment. Wear gloves when handling dry ice.
Check for Improvement:
Assess the dent and determine if it has improved. If needed, repeat the process until you achieve the desired results.
Clean and Polish:
Once the dent is removed, use a clean, soft cloth to clean and polish the stainless steel surface.
Additional Tips:
Heating and Cooling:
The rapid expansion and contraction of the metal due to the temperature changes help in popping the dent.
Professional Assistance:
If the dent is deep or the method doesn't work, consider consulting a professional appliance repair service.
Avoid Abrasives:
Avoid using abrasive materials or harsh chemicals, as they may damage the stainless steel finish.
Patience:
Removing a dent may take several attempts, so be patient and persistent.
Always prioritize safety during the process, and if you're unsure or uncomfortable, seek professional assistance. Additionally, these methods may not be suitable for all types of dents, especially those with extensive damage.
Removing a dent from a stainless steel stove can be a delicate process to avoid causing further damage to the surface. Here's a method you can try using common household items:
Materials Needed:
Boiling Water, Sufficient water to cover the entire dent.
Compressed Air or a Vacuum Cleaner, A can of compressed air (upside down to release liquid CO2) or a vacuum cleaner with a hose attachment.
Rubber Gloves, To protect your hands from hot water.
Dry Ice (Optional), If available, for additional cold treatment.
Clean, Soft Cloth, To clean and polish the stainless steel surface afterward.
Detailed Steps:
Prepare the Area:
Ensure the stove is turned off and disconnected from the power source. Clear any items or obstacles around the dent.
Boil Water:
Boil a pot of water on the stove or using a separate kettle. Make sure you have enough water to completely cover the dent.
Wear Rubber Gloves:
Put on rubber gloves to protect your hands from the hot water.
Pour Hot Water:
Carefully pour the boiling water onto the dent. Ensure the entire dent is covered.
Act Quickly:
Immediately after pouring hot water, act quickly with the cold treatment. If using compressed air, spray it upside down to release liquid CO2. If using a vacuum cleaner, place the hose over the dent.
Repeat if Necessary:
If the dent doesn't pop out on the first attempt, repeat the process. Alternate between hot and cold treatments until you see improvement.
Use Dry Ice (Optional):
If you have dry ice, rub it over the dent for additional cold treatment. Wear gloves when handling dry ice.
Check for Improvement:
Assess the dent and determine if it has improved. If needed, repeat the process until you achieve the desired results.
Clean and Polish:
Once the dent is removed, use a clean, soft cloth to clean and polish the stainless steel surface.
Additional Tips:
Heating and Cooling:
The rapid expansion and contraction of the metal due to the temperature changes help in popping the dent.
Professional Assistance:
If the dent is deep or the method doesn't work, consider consulting a professional appliance repair service.
Avoid Abrasives:
Avoid using abrasive materials or harsh chemicals, as they may damage the stainless steel finish.
Patience:
Removing a dent may take several attempts, so be patient and persistent.
Always prioritize safety during the process, and if you're unsure or uncomfortable, seek professional assistance. Additionally, these methods may not be suitable for all types of dents, especially those with extensive damage.
Ranges Cleaning, Maintenance and Odors

Range Troubleshooting: Why Your Range Is Not Working
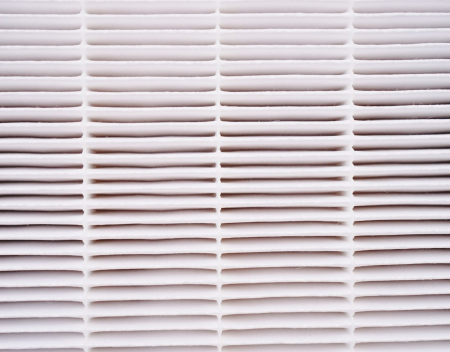
Why do I need to change my air filters regularly
BSH brings new products and the new Solitaire at IFA 2022
Samsung fridge stops getting cold over night

Should dishwasher push back further?

Talking Points: This $30 Gadget Transformed My Coffee Routine

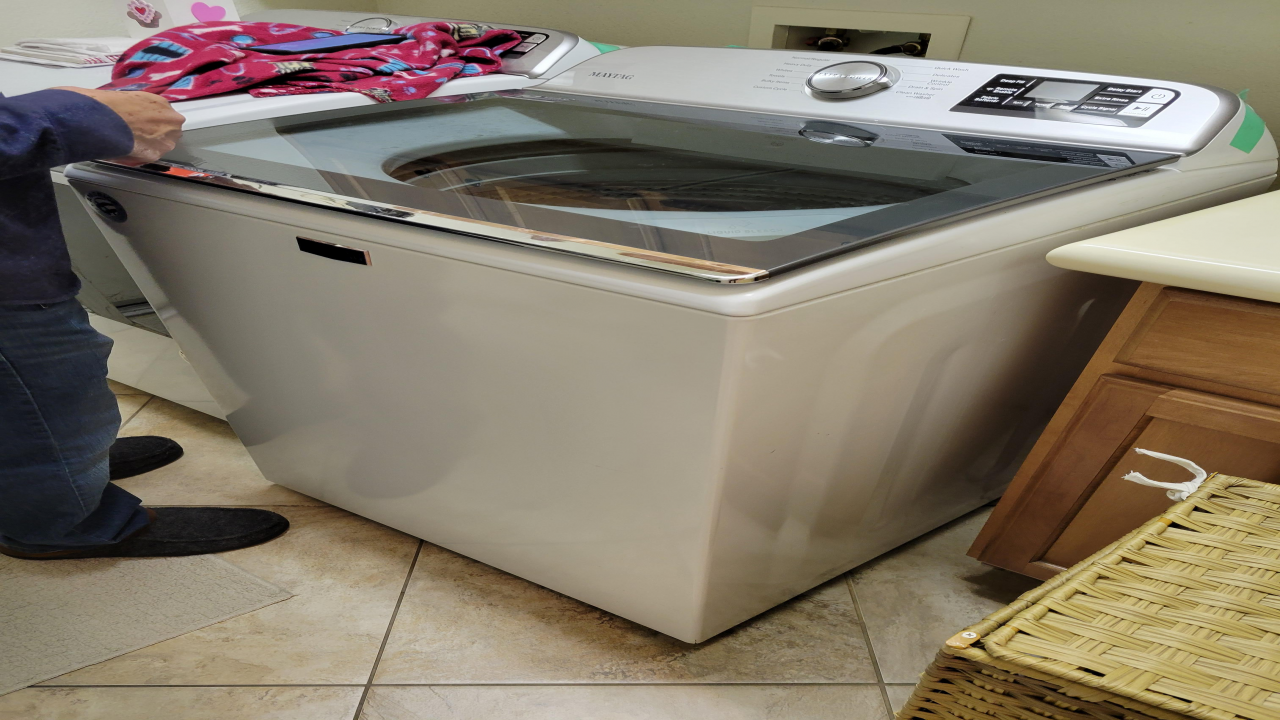
Washer goes from add garment cycle to complete Any tips on why? Maytag top loader

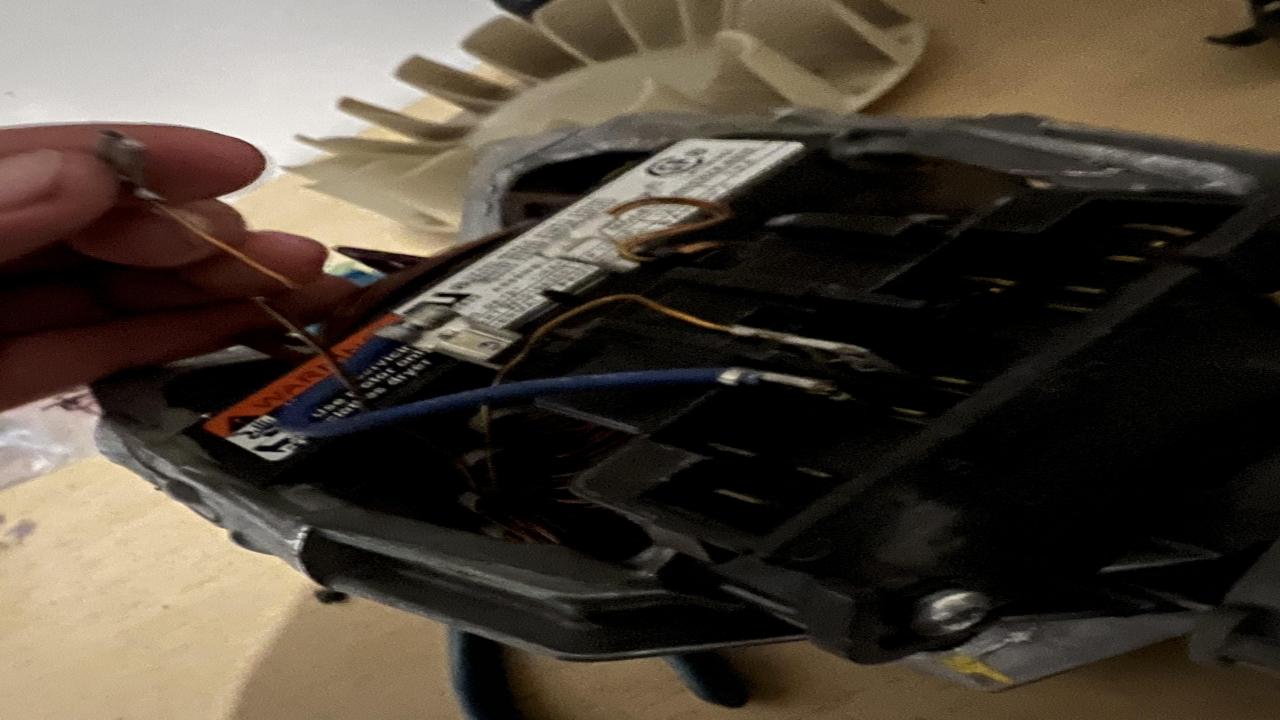
How can I properly reattach this? (Dryer motor)