Appliance Types
- Air Conditioner
- Automobile
- Chainsaw
- Circular Saw
- Dishwasher
- Drills
- Dryer
- Drywall Screw Gun
- Furnace
- Gas Fireplace
- Gas Grill
- Gas Patio Heater
- Grinder
- Heat Pump
- Impact Driver
- Impact Wrench
- Microwave
- Nailer
- Orbital Sander
- Pool Heaters
- Powerwall
- Range
- Refrigerator
- Television
- Washer
- Water Heater
Appliance Brands
- A.O. Smith
- AccuCold
- Admiral Craft
- AGA
- Airrex
- Amana
- Ambiance
- American Range
- American Standard
- American Water Heaters
- Aquacal
- Armstrong
- Asko
- Avanti
- Avenlur
- Azure
- Beko
- Bellfires
- Bertazzoni
- Blackstone
- Blaze
- Blomberg
- BlueStar
- Bosch
- Bradford White
- Bromic
- Bryant
- Cafe
- Calcana
- Capital
- Carrier
- Char-Broil
- Char-Griller
- Chrysler
- Coates
- Coleman
- Comfortmaker
- Commercial Chef
- Continental
- Cosmo
- Cove
- Crown Verity
- Dacor
- Daikin
- Danby
- Danfoss
- DaVinci
- DCS
- Deco
- DeWALT
- Ducane
- Dyna-Glo
- Dyson
- EcoSmart
- Electrolux
- Element4
- Empava
- Equator
- Eurodib
- European Home
- Everdure
- Farberware
- Fhiaba
- FibroPool
- Fire Sense
- Fisher
- FiveStar
- Flare
- Flash Furniture
- Focus
- Ford
- Forno
- Forte
- Frigidaire
- Fulgor Milano
- Gaggenau
- GE
- General Motors
- GlowBrand
- Goodman
- Grundig
- GSW
- Haier
- Hayward
- Heatstar
- Heil
- Hestan
- Hisense
- Hitachi
- Hotpoint
- iio
- Ilve
- Impecca
- Ingignia
- Insignia
- JennAir
- John Wood
- Keeprite
- Kenmore
- Kenyon
- KitchenAid
- Kucht
- La Cornue
- Lennox
- LG
- Liebherr
- Lifetime
- Lion
- Luxaire
- Lynx
- Magic Chef
- Marvel
- Maytag
- McQuay
- MicroFridge
- Midea
- Miele
- Migali
- Monogram
- Montigo
- Mr Heater
- Napoleon
- Navien
- Nexgrill
- Noritz
- Panasonic
- Patio Comforts
- Payne
- Pentair
- Perlick
- PITT
- Premier
- Raypak
- Real Fyre
- Regency
- Reliance
- Rheem
- Rinnai
- Roma
- Ruud
- Saber
- Samsung
- Schwank
- Sharp
- Smeg
- Solas
- Sony
- Spartherm
- Speed Queen
- StaRite
- State Water Heaters
- Stiebel Eltron
- SubZero
- Summerset
- Summit
- SunGlo
- SunPak
- Sunpentown
- SunStar
- Superiore
- Takagi
- TCL
- TEC
- Tempstar
- Tesla
- Thermador
- Thor Kitchen
- Toshiba
- Town and Country
- Toyota
- Traeger
- Trane
- Twin Eagles
- U-Line
- Unique
- Vaillant Group
- Valor
- Verona
- Victory
- Viessmann
- Viking
- Vizio
- Weber
- Westinghouse
- Whirlpool
- Whynter
- York
- ZLINE
Article Categories
- Air Conditioners
- Appliance Care
- Appliance News
- Dishwasher News
- Drying Machines
- Furnaces
- Gas Fireplaces
- Microwaves
- Pool Heaters
- Refrigerators
- Stoves - Ranges
- Tips and Tricks
- Washing Machines
- Water Heaters
More Articles
How do I replace the door seal on my washing machine?
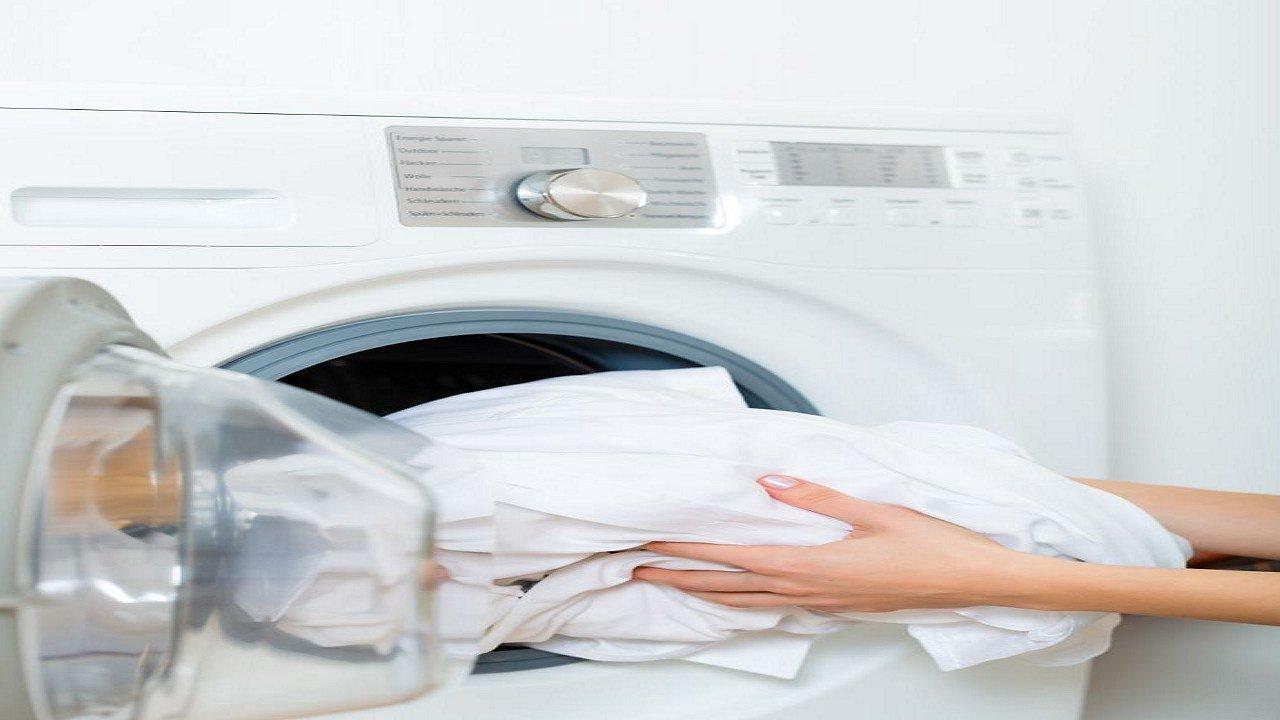
Replacing the door seal, also known as the door gasket or rubber boot, on your washing machine can help prevent leaks and ensure proper functioning. Here are step-by-step instructions on how to replace the door seal on a front-loading washing machine:
Tools and Materials You Will Need:
Replacement door seal gasket compatible with your washing machine model.
Screwdriver (usually a Phillips or Torx screwdriver).
Needle-nose pliers.
Towels or rags for cleanup.
Mild detergent or a specialized washing machine cleaner.
A spray bottle with water and a few drops of dish soap (for lubrication).
Safety Precautions:
Disconnect the washing machine from the power source by unplugging it or turning off the circuit breaker.
Wear protective gloves to avoid sharp edges and to protect your hands from any dirt or detergent residues.
Step-by-Step Guide:
Access the Door Seal: Open the washing machine door and carefully peel back the existing door seal to access the inner retaining ring or clamp.
Remove the Retaining Ring or Clamp:
Use your needle-nose pliers to remove any spring-loaded retaining rings or clamps securing the door seal to the drum or front panel. There may be one or more clamps depending on your machine model. Carefully detach the door seal from the drum and front panel. You may need to use your pliers to help loosen it.
Disconnect the Drain Hose (if necessary): Some door seals have a drain hose connected to them. If your model has this, disconnect it from the seal.
Remove the Old Door Seal: Pull the old door seal completely off the drum and front panel of the washing machine.
Clean the Area: Before installing the new door seal, clean the drum and front panel thoroughly. You can use a mixture of water and mild detergent or a specialized washing machine cleaner. Ensure the area is free of any dirt, soap scum, or debris.
Lubricate the New Door Seal: Spray a mixture of water and a few drops of dish soap onto the new door seal to lubricate it. This will make it easier to install.
Install the New Door Seal:
Begin by attaching the door seal to the drum. Carefully work the seal onto the front panel, ensuring it fits snugly in place. Reattach any retaining rings or clamps that secure the seal to the drum and front panel. Make sure they are firmly in place to hold the seal securely.
Reconnect the Drain Hose (if necessary): If your old door seal had a drain hose, reconnect it to the new seal.
Check the Seal: Carefully inspect the seal to ensure it's properly installed and securely attached to both the drum and front panel.
Plug in or Turn on the Washing Machine: Reconnect the washing machine to the power source.
Run a Test Cycle: Run a test cycle to check for any leaks and to make sure the washing machine operates correctly.
Replacing a door seal can be a bit challenging, so take your time and ensure that the new seal is installed correctly to prevent any future leaks. If you're not confident in your DIY skills, it's a good idea to consult a professional technician or your washing machine's manufacturer for assistance.
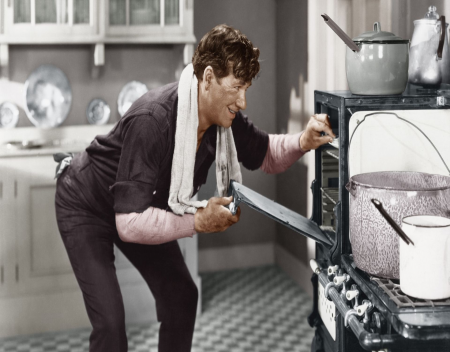
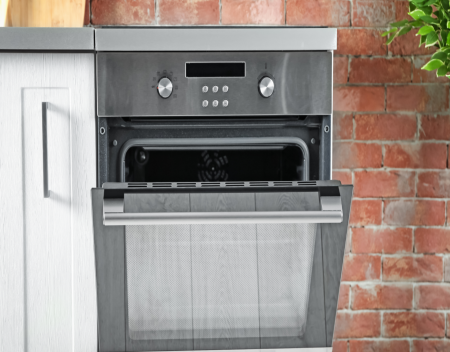
Dos and donts of using an oven
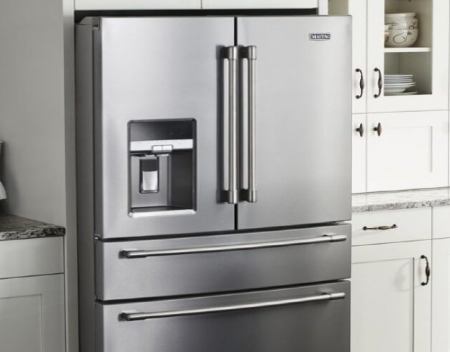
Maytag Refrigerator not defrosting
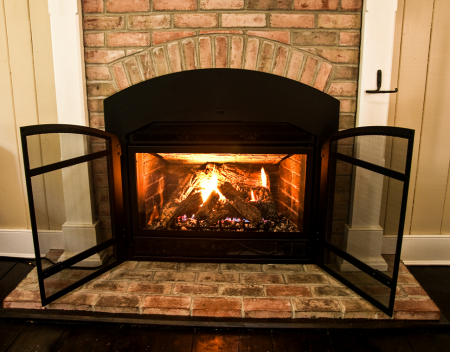
Gas Fireplace Maintenance Tips
Why is My Gas Stove Flame Orange?

New washing machine makin crazy noise while spinning
NKBA’s Midyear Market Outlook Forecasts Increase Over 2021