Appliance Types
- Air Conditioner
- Automobile
- Chainsaw
- Circular Saw
- Dishwasher
- Drills
- Dryer
- Drywall Screw Gun
- Furnace
- Gas Fireplace
- Gas Grill
- Gas Patio Heater
- Grinder
- Heat Pump
- Impact Driver
- Impact Wrench
- Microwave
- Nailer
- Orbital Sander
- Pool Heaters
- Powerwall
- Range
- Refrigerator
- Television
- Washer
- Water Heater
Appliance Brands
- A.O. Smith
- AccuCold
- Admiral Craft
- AGA
- Airrex
- Amana
- Ambiance
- American Range
- American Standard
- American Water Heaters
- Aquacal
- Armstrong
- Asko
- Avanti
- Avenlur
- Azure
- Beko
- Bellfires
- Bertazzoni
- Blackstone
- Blaze
- Blomberg
- BlueStar
- Bosch
- Bradford White
- Bromic
- Bryant
- Cafe
- Calcana
- Capital
- Carrier
- Char-Broil
- Char-Griller
- Chrysler
- Coates
- Coleman
- Comfortmaker
- Commercial Chef
- Continental
- Cosmo
- Cove
- Crown Verity
- Dacor
- Daikin
- Danby
- Danfoss
- DaVinci
- DCS
- Deco
- DeWALT
- Ducane
- Dyna-Glo
- Dyson
- EcoSmart
- Electrolux
- Element4
- Empava
- Equator
- Eurodib
- European Home
- Everdure
- Farberware
- Fhiaba
- FibroPool
- Fire Sense
- Fisher
- FiveStar
- Flare
- Flash Furniture
- Focus
- Ford
- Forno
- Forte
- Frigidaire
- Fulgor Milano
- Gaggenau
- GE
- General Motors
- GlowBrand
- Goodman
- Grundig
- GSW
- Haier
- Hayward
- Heatstar
- Heil
- Hestan
- Hisense
- Hitachi
- Hotpoint
- iio
- Ilve
- Impecca
- Ingignia
- Insignia
- JennAir
- John Wood
- Keeprite
- Kenmore
- Kenyon
- KitchenAid
- Kucht
- La Cornue
- Lennox
- LG
- Liebherr
- Lifetime
- Lion
- Luxaire
- Lynx
- Magic Chef
- Marvel
- Maytag
- McQuay
- MicroFridge
- Midea
- Miele
- Migali
- Monogram
- Montigo
- Mr Heater
- Napoleon
- Navien
- Nexgrill
- Noritz
- Panasonic
- Patio Comforts
- Payne
- Pentair
- Perlick
- PITT
- Premier
- Raypak
- Real Fyre
- Regency
- Reliance
- Rheem
- Rinnai
- Roma
- Ruud
- Saber
- Samsung
- Schwank
- Sharp
- Smeg
- Solas
- Sony
- Spartherm
- Speed Queen
- StaRite
- State Water Heaters
- Stiebel Eltron
- SubZero
- Summerset
- Summit
- SunGlo
- SunPak
- Sunpentown
- SunStar
- Superiore
- Takagi
- TCL
- TEC
- Tempstar
- Tesla
- Thermador
- Thor Kitchen
- Toshiba
- Town and Country
- Toyota
- Traeger
- Trane
- Twin Eagles
- U-Line
- Unique
- Vaillant Group
- Valor
- Verona
- Victory
- Viessmann
- Viking
- Vizio
- Weber
- Westinghouse
- Whirlpool
- Whynter
- York
- ZLINE
Article Categories
- Air Conditioners
- Appliance Care
- Appliance News
- Dishwasher News
- Drying Machines
- Furnaces
- Gas Fireplaces
- Microwaves
- Pool Heaters
- Refrigerators
- Stoves - Ranges
- Tips and Tricks
- Washing Machines
- Water Heaters
More Articles
How to Clean Your Refrigerator Coils (And Why It Matters)

Hey everyone, welcome back to Appliance Helpers, where we make fixing and maintaining your appliances simple and stress-free! Today, we’re tackling something that most people don’t think about—but it can make a HUGE difference in how your fridge runs.
We’re talking about refrigerator coils, why cleaning them is so important, and of course, how to do it yourself.
So, why does this matter? Those coils on the back or underneath your fridge are responsible for releasing heat as your refrigerator cools. But over time, they collect dust, dirt, even pet hair—and when they’re dirty, your fridge has to work harder.
That means higher energy bills, less cooling efficiency, and even the risk of your fridge breaking down early.
Step 1: Safety First
Alright, step one—safety first. Always unplug your fridge before you start. This keeps you safe from electrical shock and gives you peace of mind while working.
Step 2: Find the Coils
Step two—locate your coils. Depending on your model, they’re either on the back of the fridge or behind a kick plate at the bottom. If you’re not sure, check your fridge’s manual.
Step 3: Cleaning Tools
Next, grab a few simple tools:
A coil cleaning brush or a long narrow brush.
A vacuum with a hose attachment.
And a damp cloth for wiping things down."
Step 4: Cleaning Process
Now for the fun part—cleaning! Use your brush to loosen all that dust and debris from the coils. Once it’s loosened up, use your vacuum to suck it away. Work slowly and carefully—no need to rush. If you’re dealing with stubborn dirt, give it a light wipe with a damp cloth.
Step 5: Reassemble & Plug Back In
Once everything looks clean, reattach the kick plate if you removed it, push the fridge back into place, and plug it back in. That’s it—you’re done!
Cleaning your refrigerator coils just once or twice a year can save you money, extend the life of your fridge, and keep it running like new. It’s one of those quick maintenance tasks that really pays off.
If you found this video helpful, hit that like button and subscribe for more simple appliance fixes and maintenance tips. And if your fridge is still giving you trouble, check out our other videos where we cover common refrigerator problems. Thanks for watching Appliance Helpers, and I’ll see you next time!
How to Remove Bad Refrigerator Smells?

LG presented the 2022 HVAC lineup at AHR Expo Las Vegas

I know these are older models but are they energy efficient?
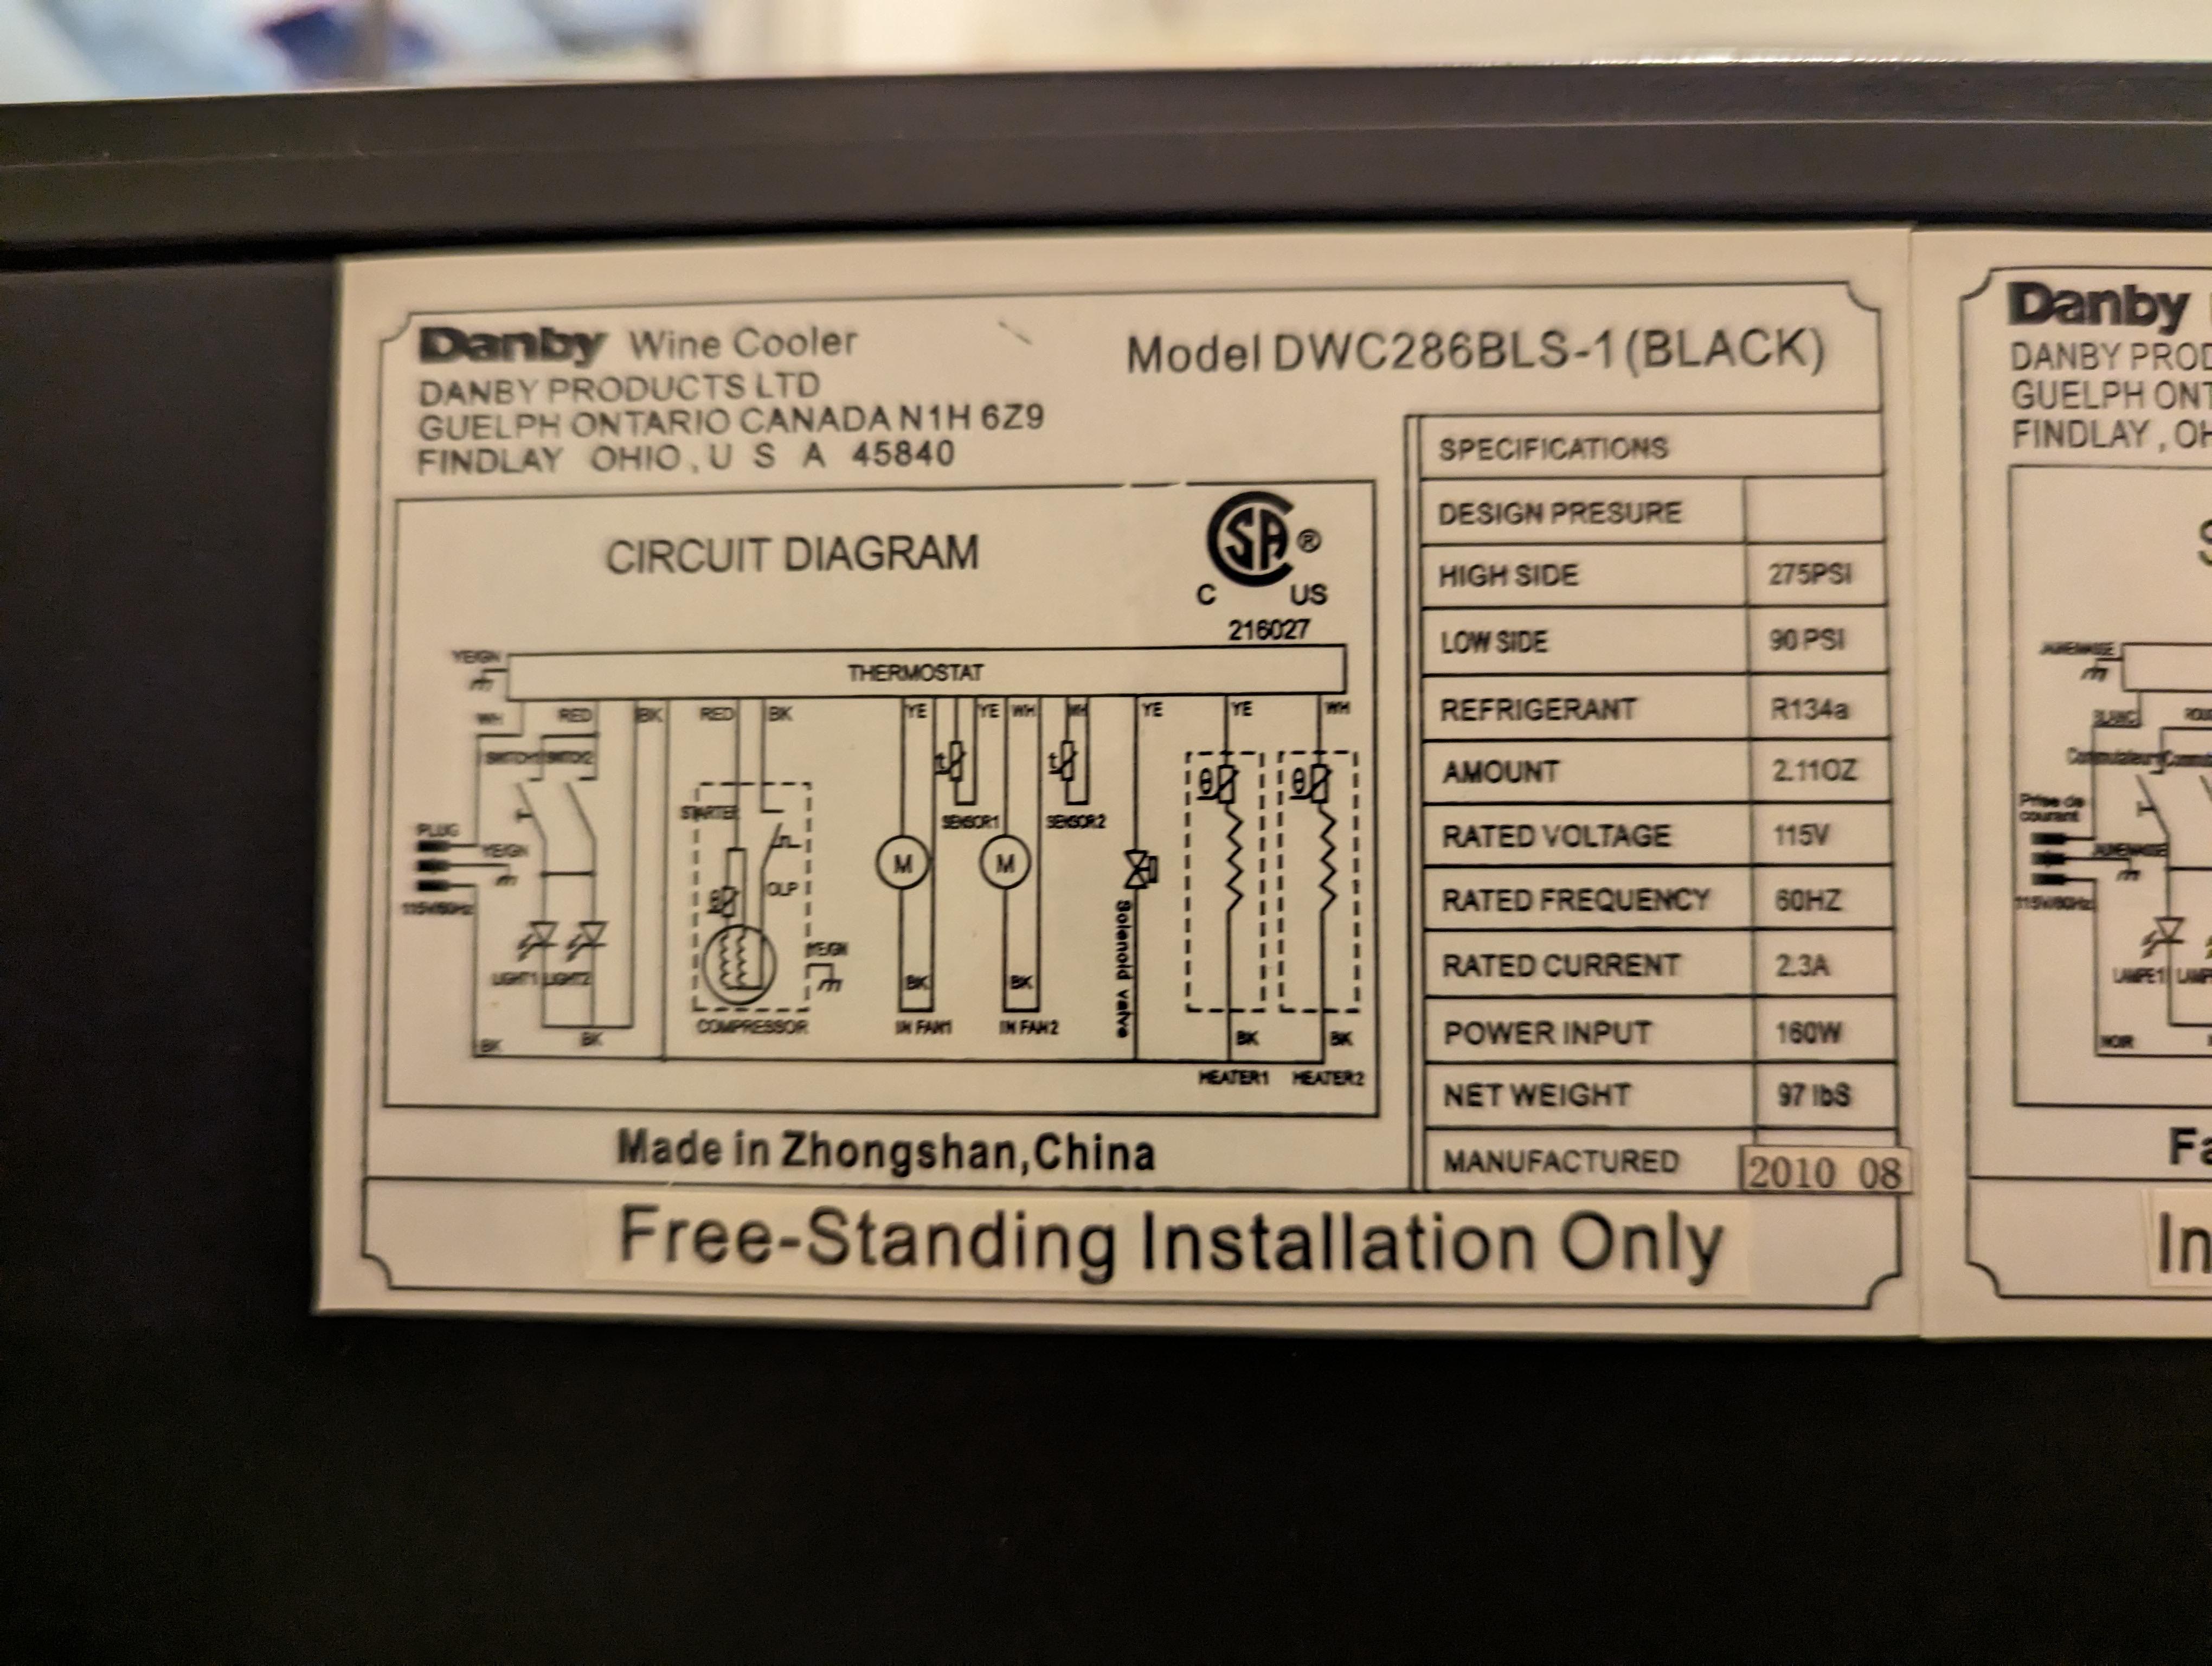
Can someone tell me what the low and high side pressures mean? Is this while the compressor is runni
How much does a new AC system replacement cost

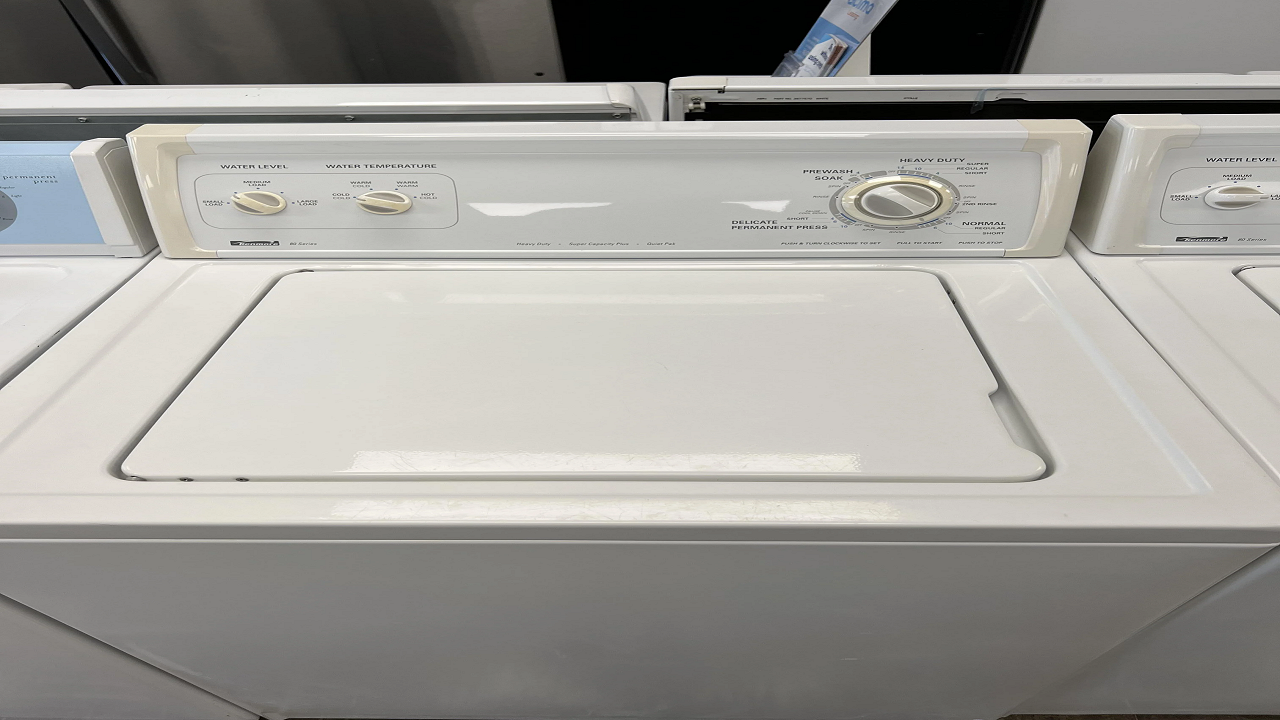
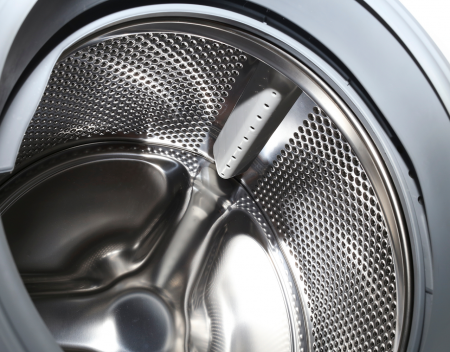
My Washing Machine is Making a Loud Noise, What Should I Do?
Dacor Unveils New Undercounter Collection At Exclusive NYC Event

Leicas expansion into the laser TV market goes full steam ahead with Hisense partnership

Howard’s Opens New West Los Angeles Experience Center

Refrigerator Temperature Issues